Hi! I'm Nikki, and I blog over at
The Girl Who Quilts! I'm so excited to be a part of tutorial week, it's always fun to share a sliver of my quilting world with others! Today I'm going to explain a bit of how the design process works for me and follow that up with a tutorial for the block that I've designed!
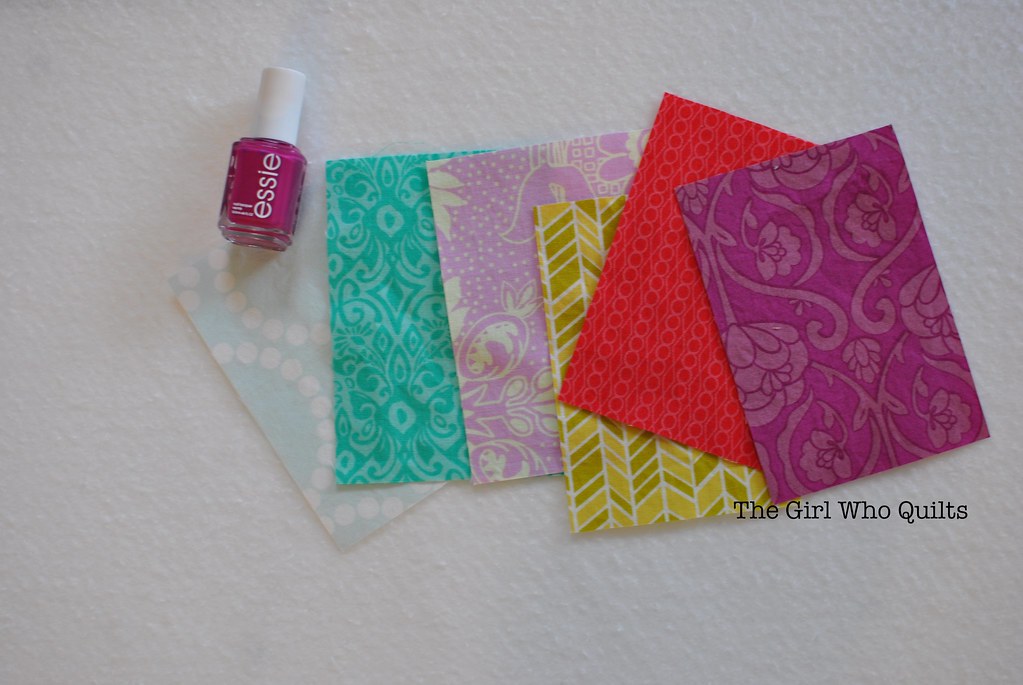
I'm a scientist by training and although I've always been a crafter, designing doesn't always come easily to me. In fact, my favorite projects are typically the product of a simple idea (or a mistake! Ha!). While I was working on an idea for my tutorial I decided to take a break and skim facebook for a bit. That's when I saw this advertisement pop up:
I instantly knew that I had to create a quilt block based on the photo. I started out by drawing on graph paper (technically this is engineering paper, for fellow nerds and nerd spouses out there!). I like to start with graph paper because it's easier and faster for me than using the computer. I also pulled out my own bottle of Essie nail polish and measured it (1" wide by 1.5" tall) so that I could keep those proportions in my design.
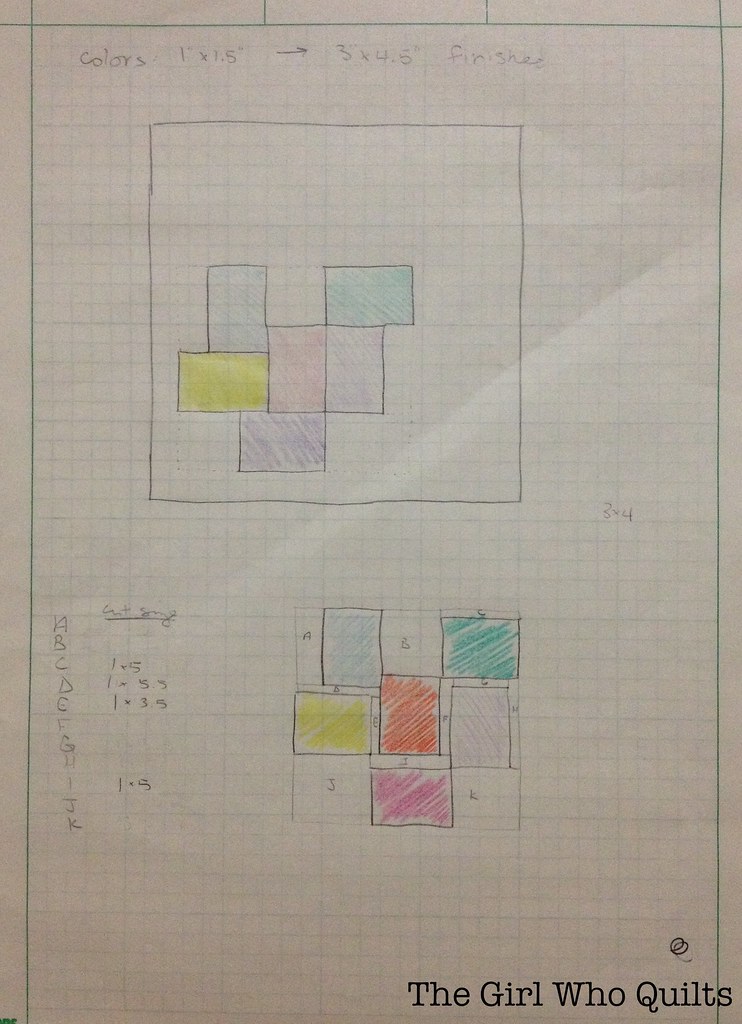
My first drawing was quite basic. Based on the actual bottle size, I had decided on a finished size of 3"x4.5" for the colored blocks. I liked my first drawing (top drawing above), but I wanted to include the narrow spacing that the glass bottles naturally create between the blocks of color. My second drawing incorporated the spacing. This is also the point when I started to think about the easiest way to piece the block and draw in my piecing lines. If I wasn't quite satisfied with my design I would have continued to tweak my drawings and redraw them as needed until I was happy with the design. In this instance I didn't stray much from my inspiration. Sometimes the inspiration is barely recognizable in the final design and other times it's a near replica. Don't be afraid to play with different ideas!
(Reality check: sometimes my drawings end up in the recycling bin or a binder, only to be see months later. And other times they turn into great quilt designs!)
I had a few math errors in my second drawing, so I made a third drawing but didn't include a photo here. I never start drafting on the computer until AFTER I work out all of the math on paper. For me, it's easier to calculate everything on paper. And don't forget to include seam allowances (I don't draw them in, but keep them in mind when writing out cutting directions!). Once I had my block design worked out on paper I moved over to the computer. I use Adobe Illustrator for my graphics (I wish I could provide a tut on that, but alas, I am still a young Illustrator grasshopper!).
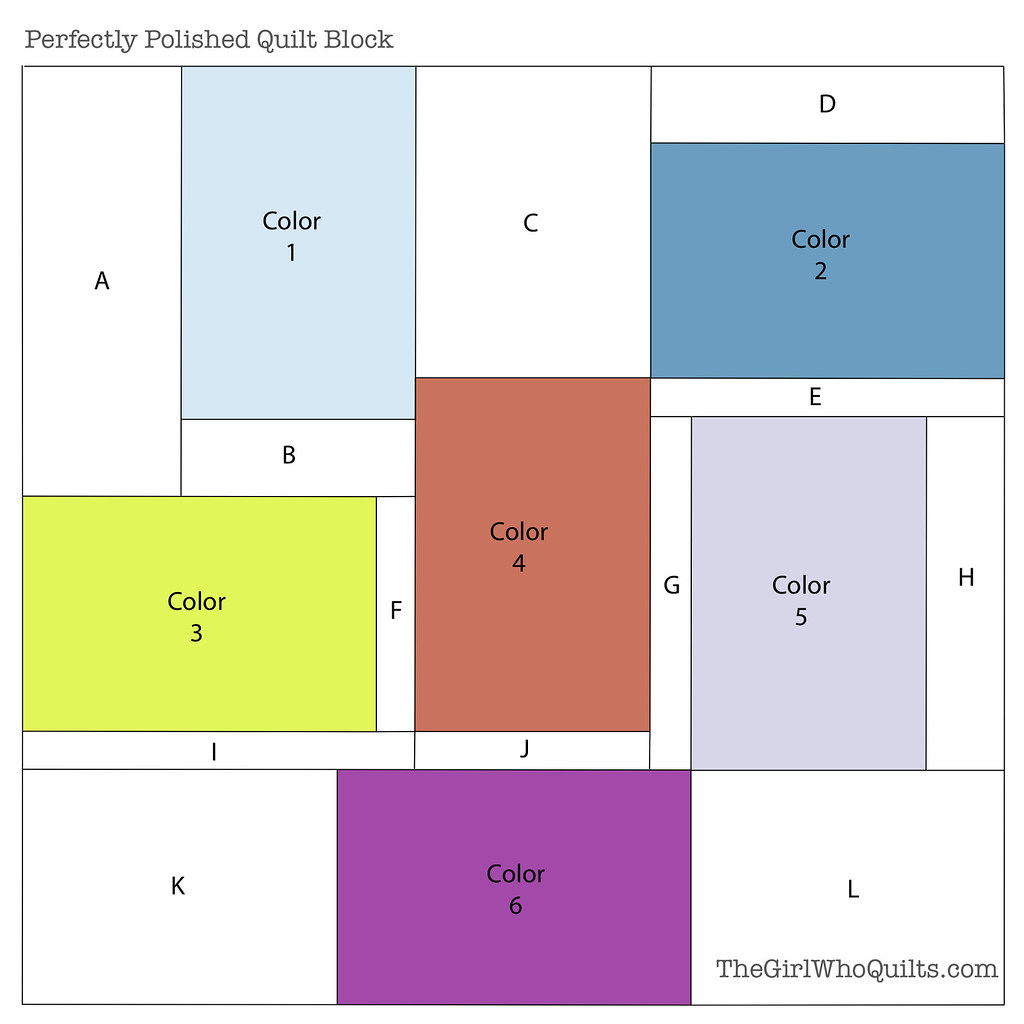
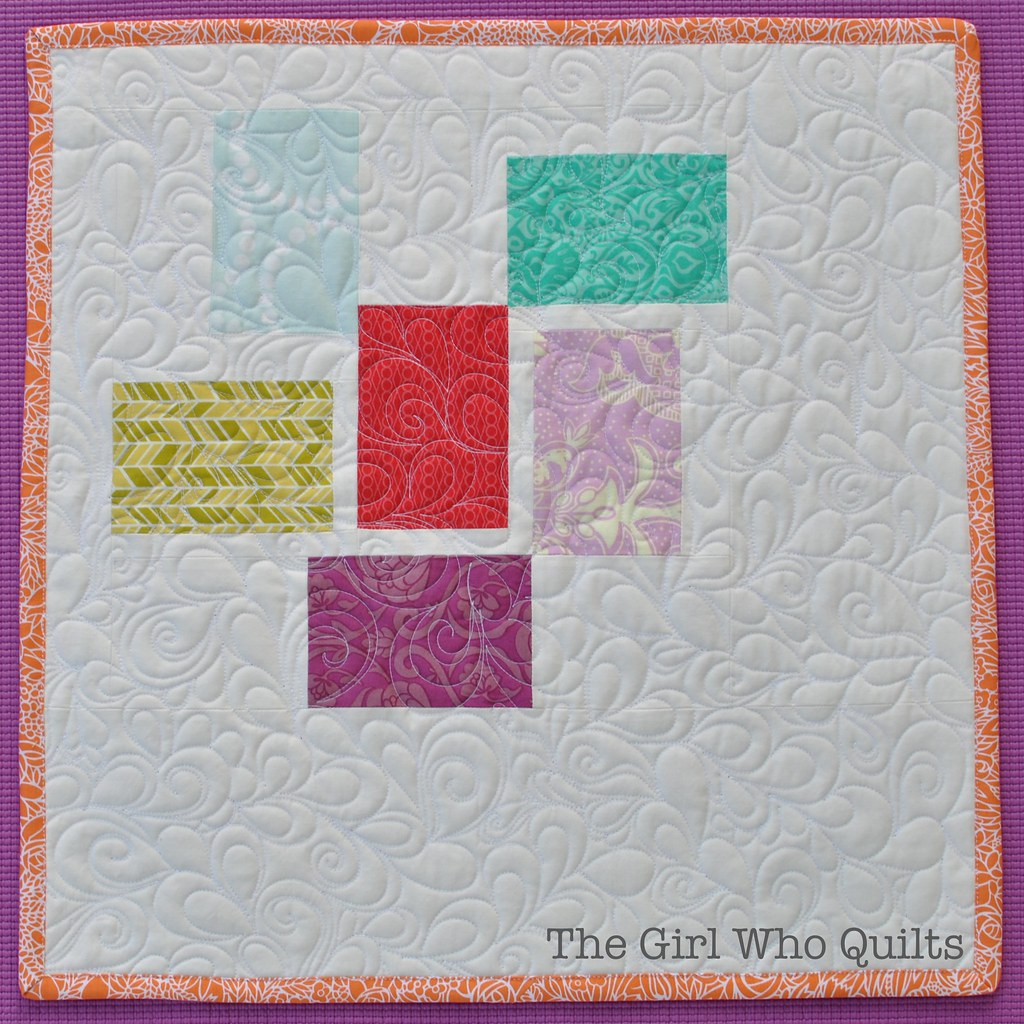
I'm calling this block "Perfectly Polished"!
Now, let's sew up the block!
For starters, here are the supplies:
6 scraps for the color blocks, at least 4" x 5.5"
1/4 yd background fabric*
To create a 19" square mini quilt, the following are needed:
1/3 yd background in place of the 1/4 yd listed above*
22" square batting
2/3 yd backing
1/4 yd binding
Cut your fabric as follows:
6 color blocks: 3.5" x 5"
Background (it's helpful to label the individual pieces here):
A: 2.5" x 6"
B: 1.5" x 3.5"
C: 3.5" x 4.5"
D: 1.5" x 5"
E: 1" x 5"
F: 1" x 3.5"
G: 1" x 5"
H: 1.5" x 5"
I: 1" x 5.5"
J: 1" x 3.5"
K: 3.5" x 4.5"
L: 3.5" x 4.5"
Refer back to the illustration above whenever needed during the piecing.
For this block I find it especially helpful to lay out my design on a design wall or a nearby table. As I sew and press my seams I place the sections back in the appropriate places within the design.
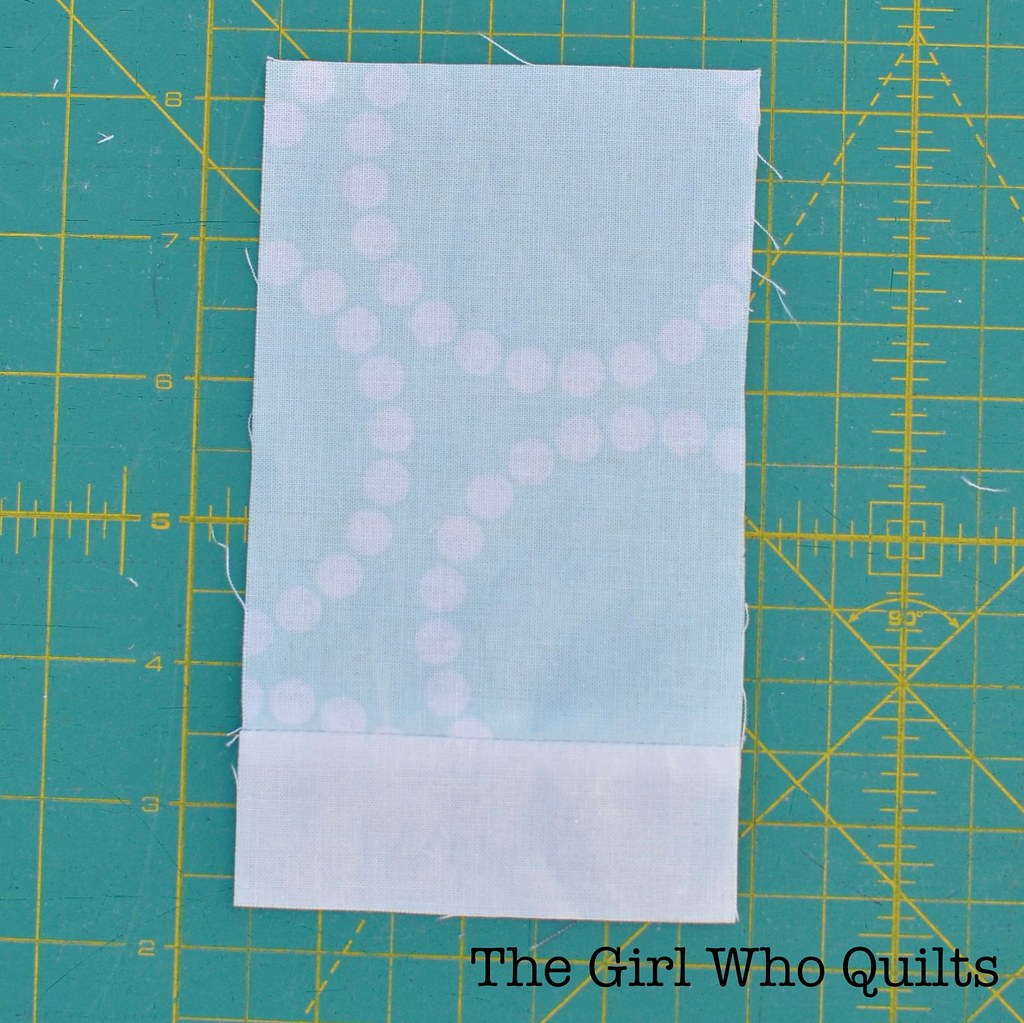
Press all seams as you go. I prefer to press open, especially when using a light colored background fabric such as in this project.
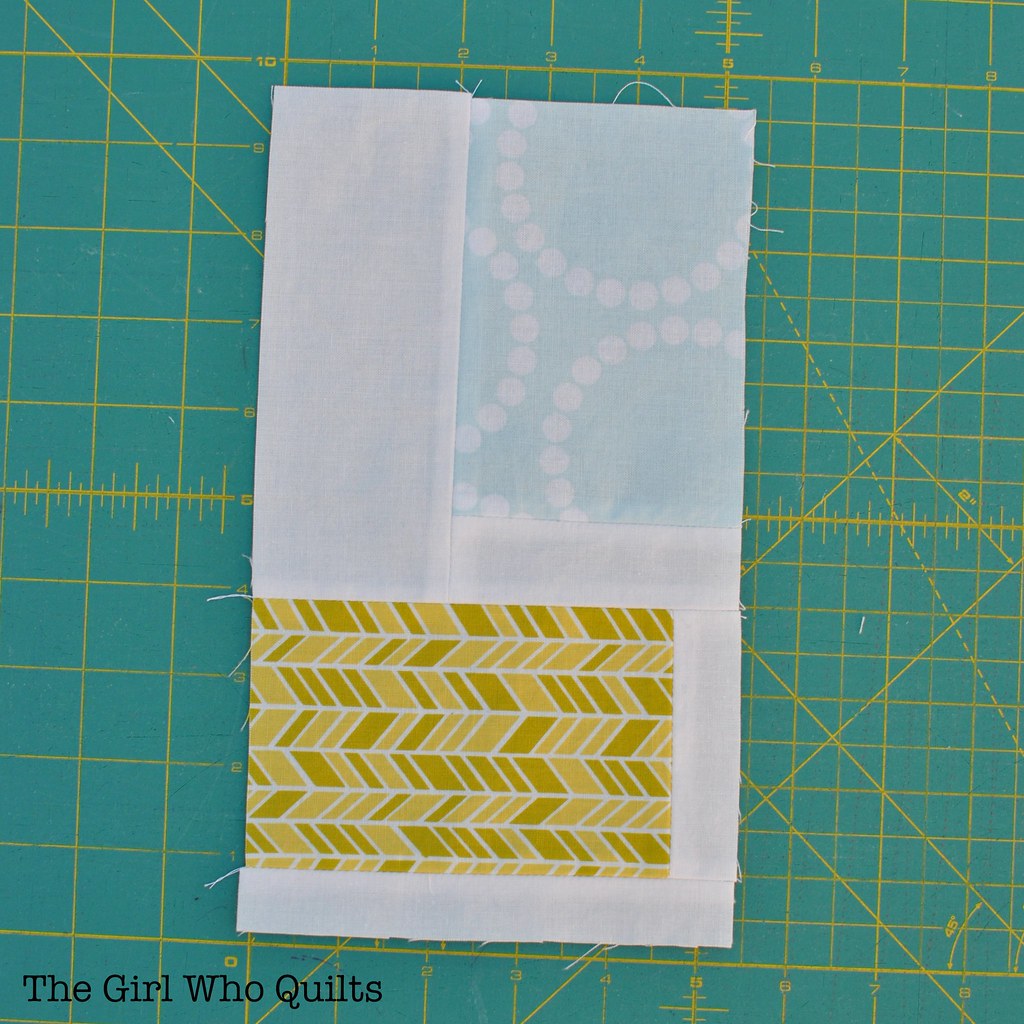
Start by sewing piece B to the bottom of color 1.
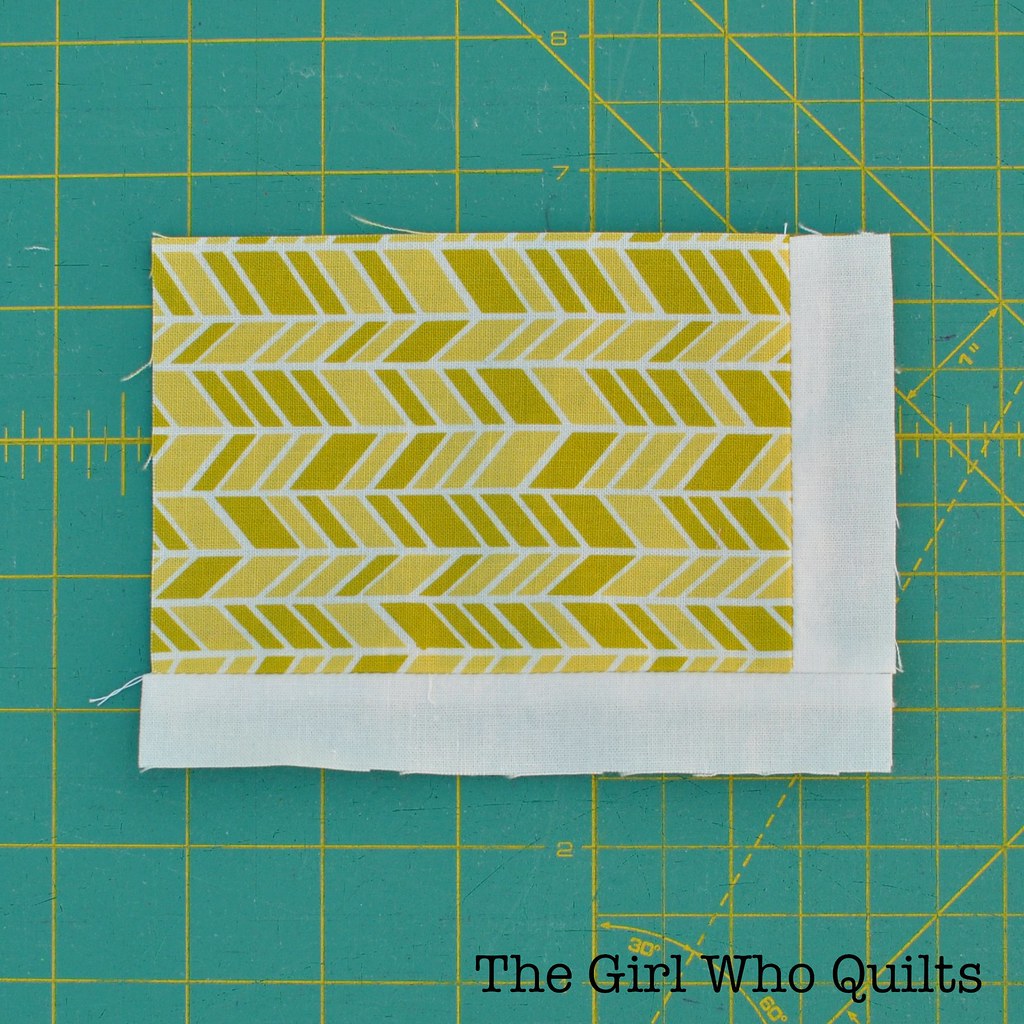
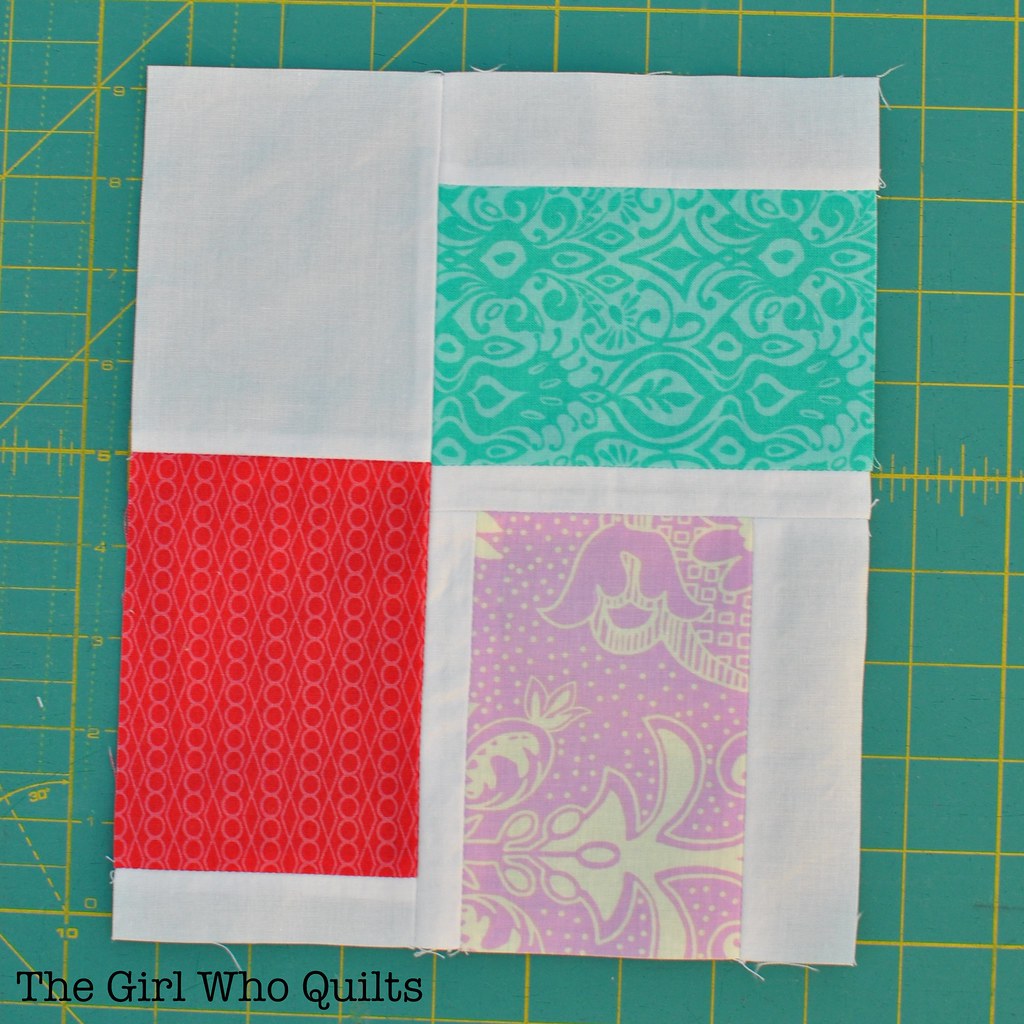
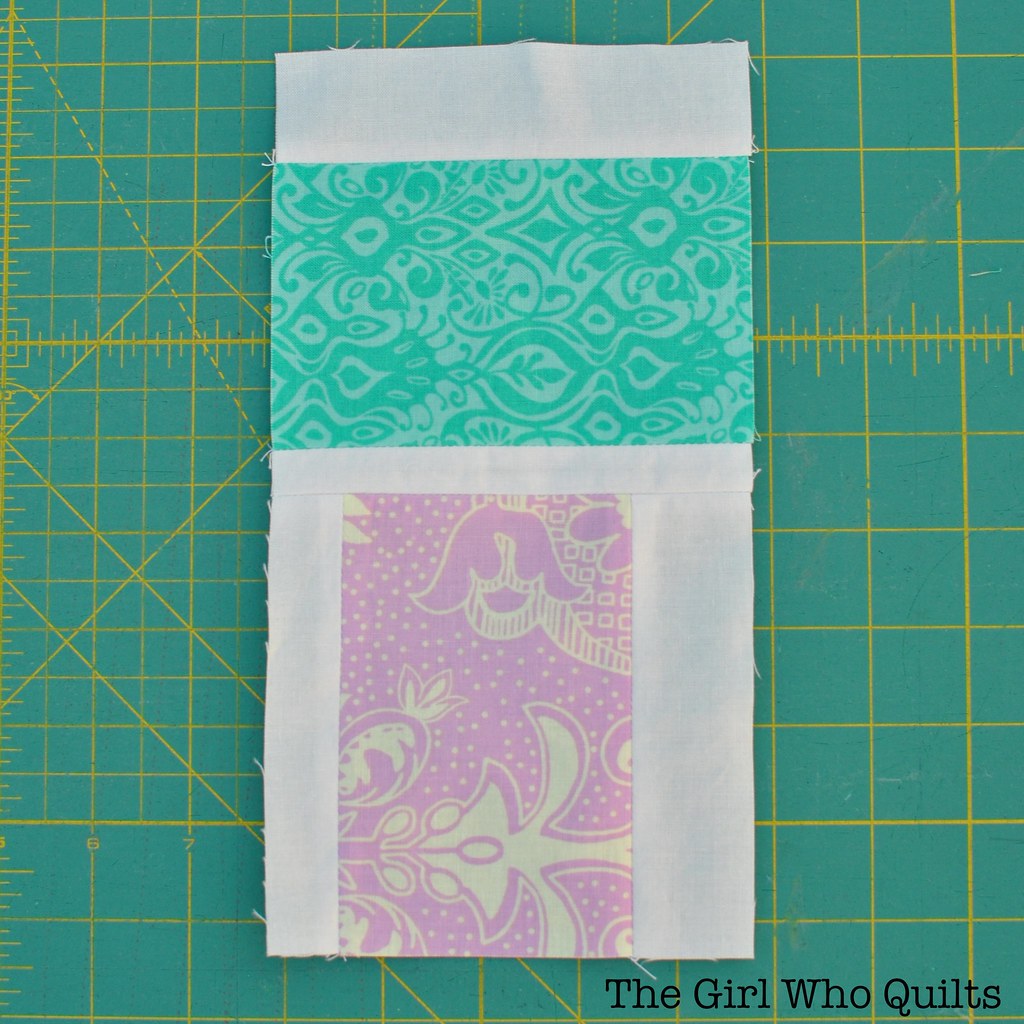
Sew piece C to the top of color 4; sew piece J to the bottom of color 4.
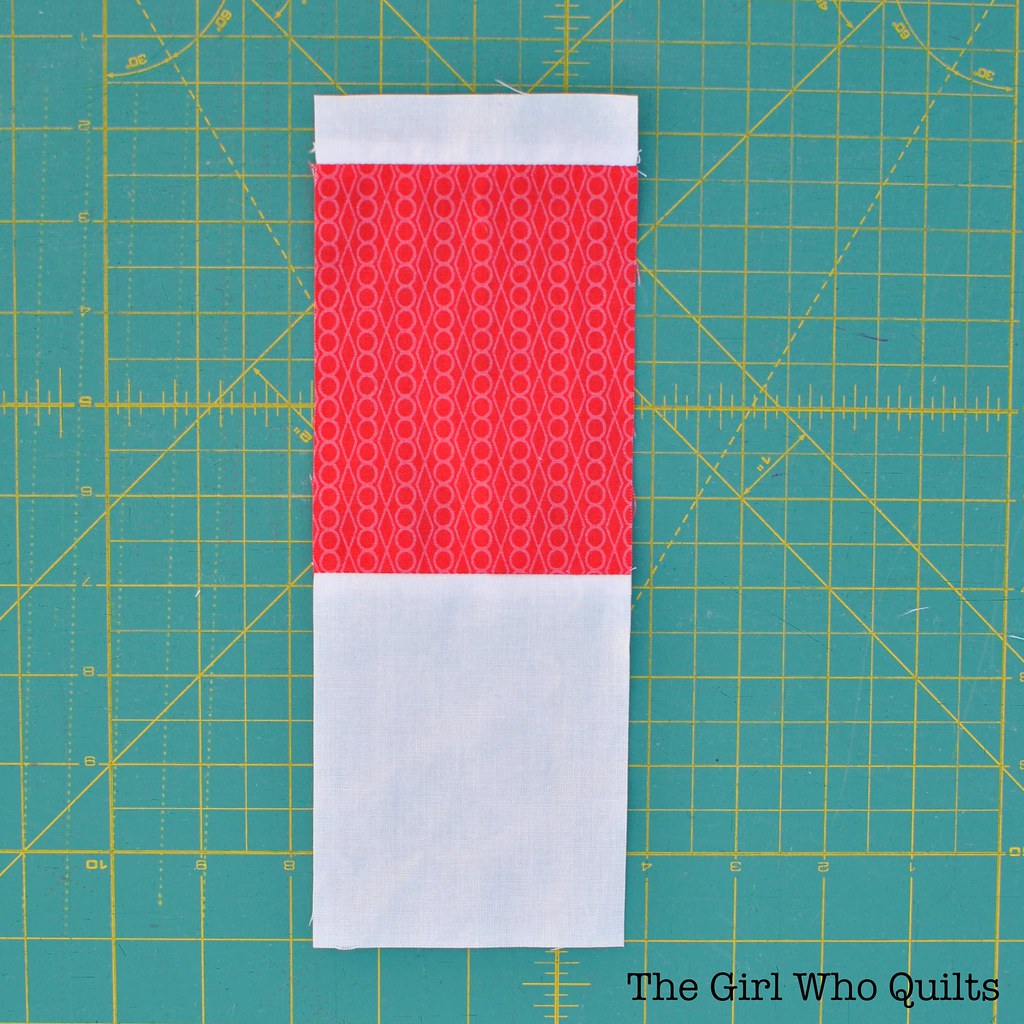
Sew piece D to the top of color 2; sew piece E to the bottom of color 2.
Sew piece F to the right side of color 3.
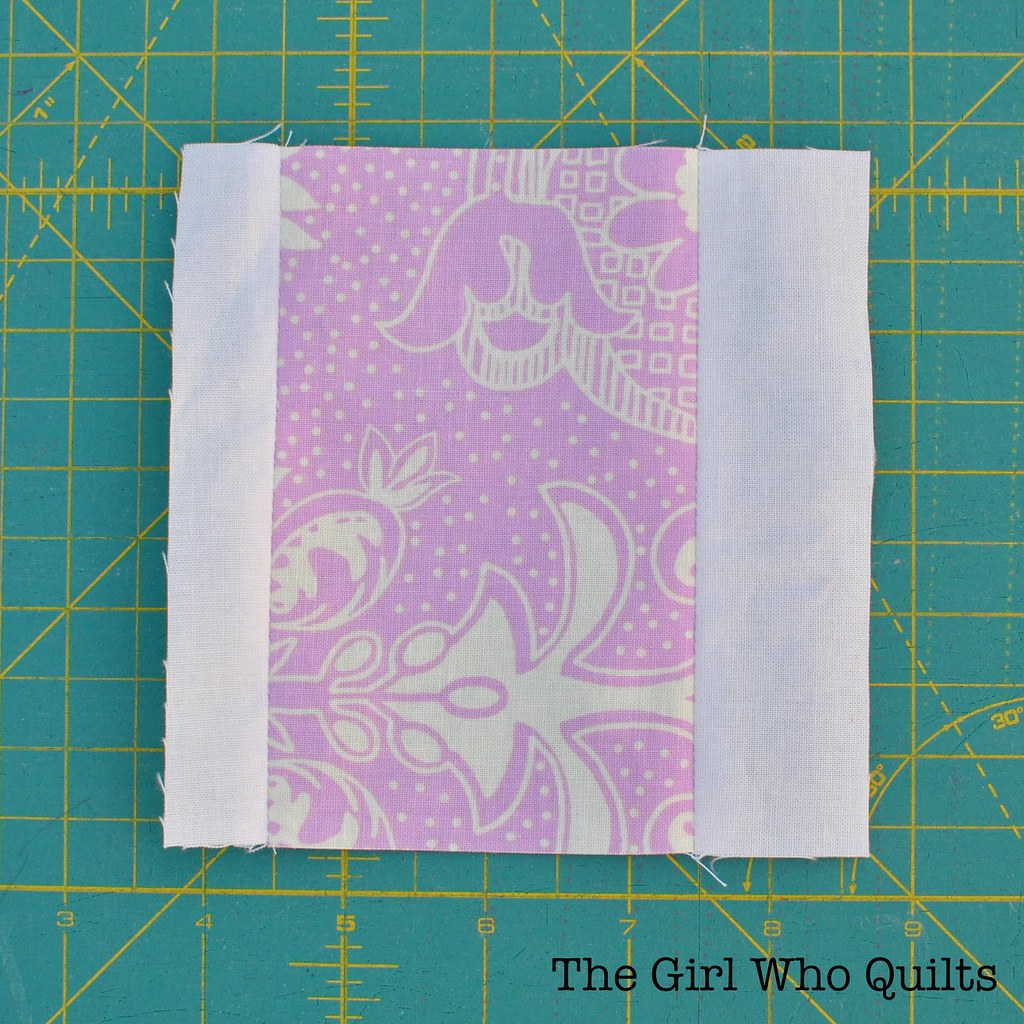
Sew piece G to the left side of color 5; sew piece H to the right side of color 5.
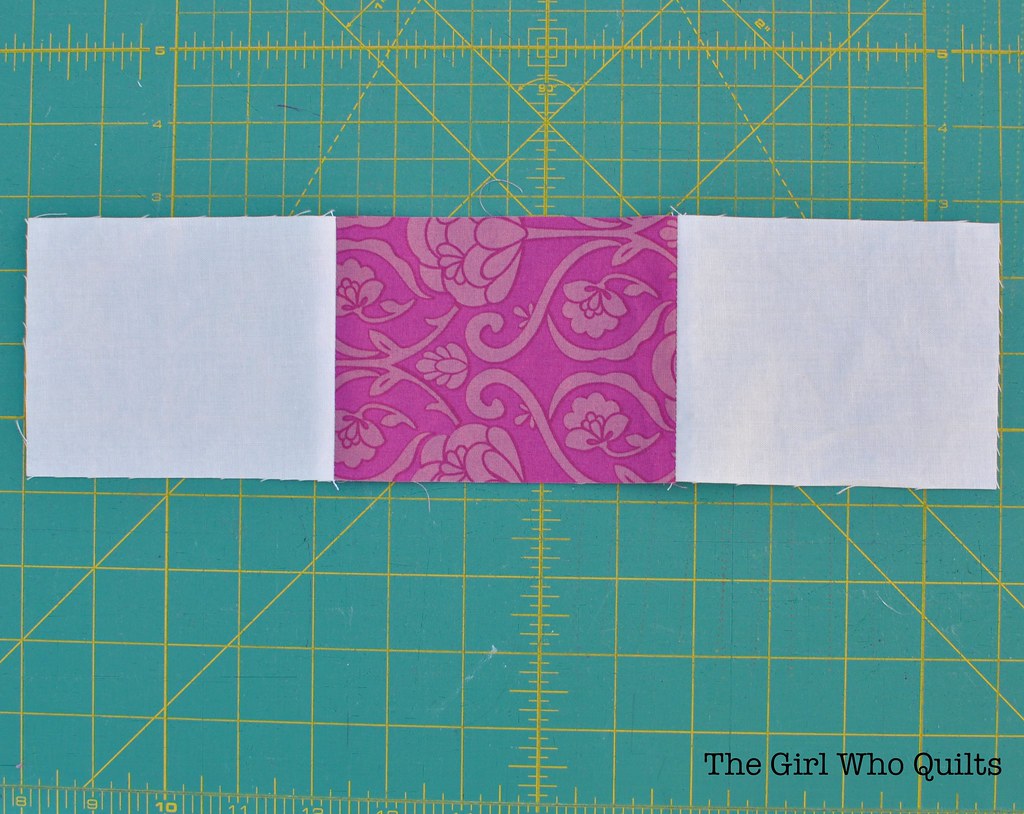
Sew piece K to the left side of color 6; sew piece L to the right side of color 6.
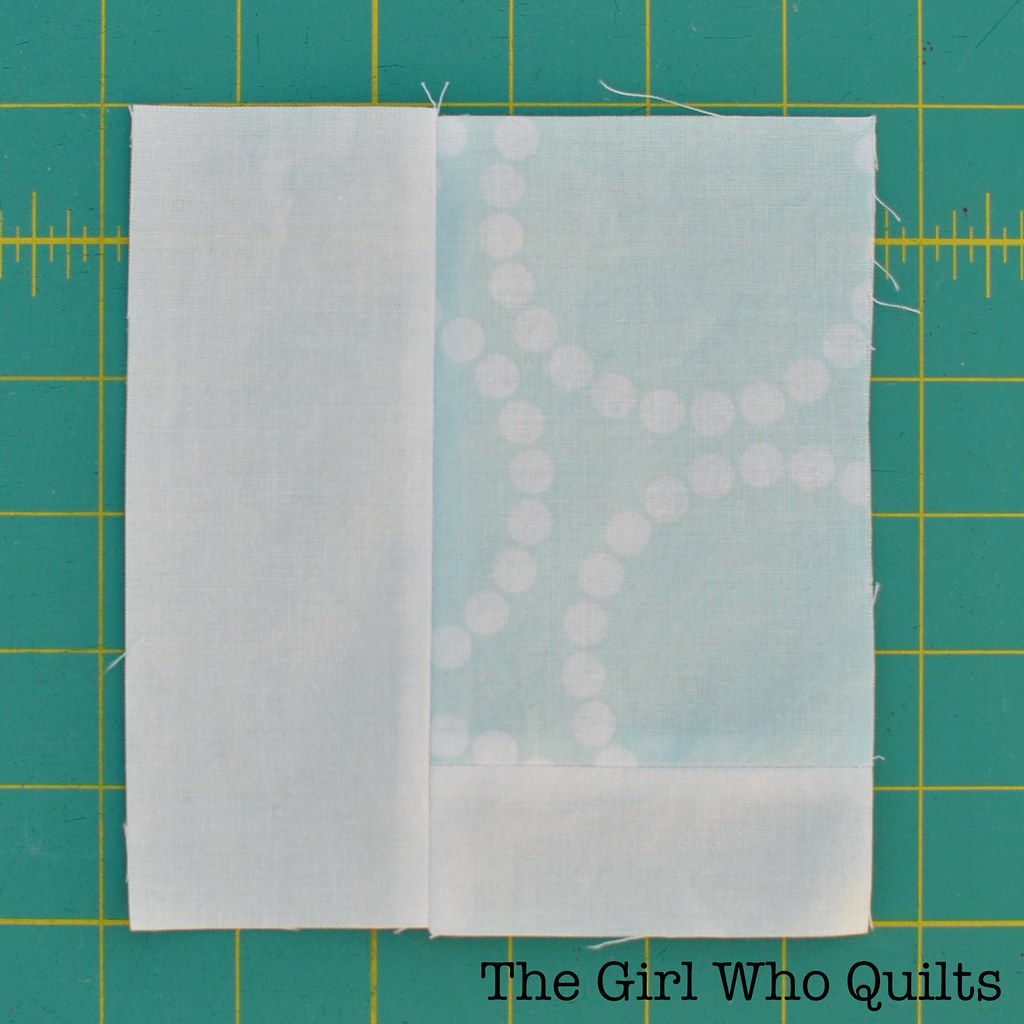
Now sew piece A to the left side of the color 1 section.
Sew piece I to the bottom of the color 3 section.
Now it's time to start piecing the colors together! Begin by sewing the color 1 section to the top of the color 3 section.
Sew the color 2 section to the top of the color 5 section.
Sew the color 4 section to the left side of the color 2+color 5 section.
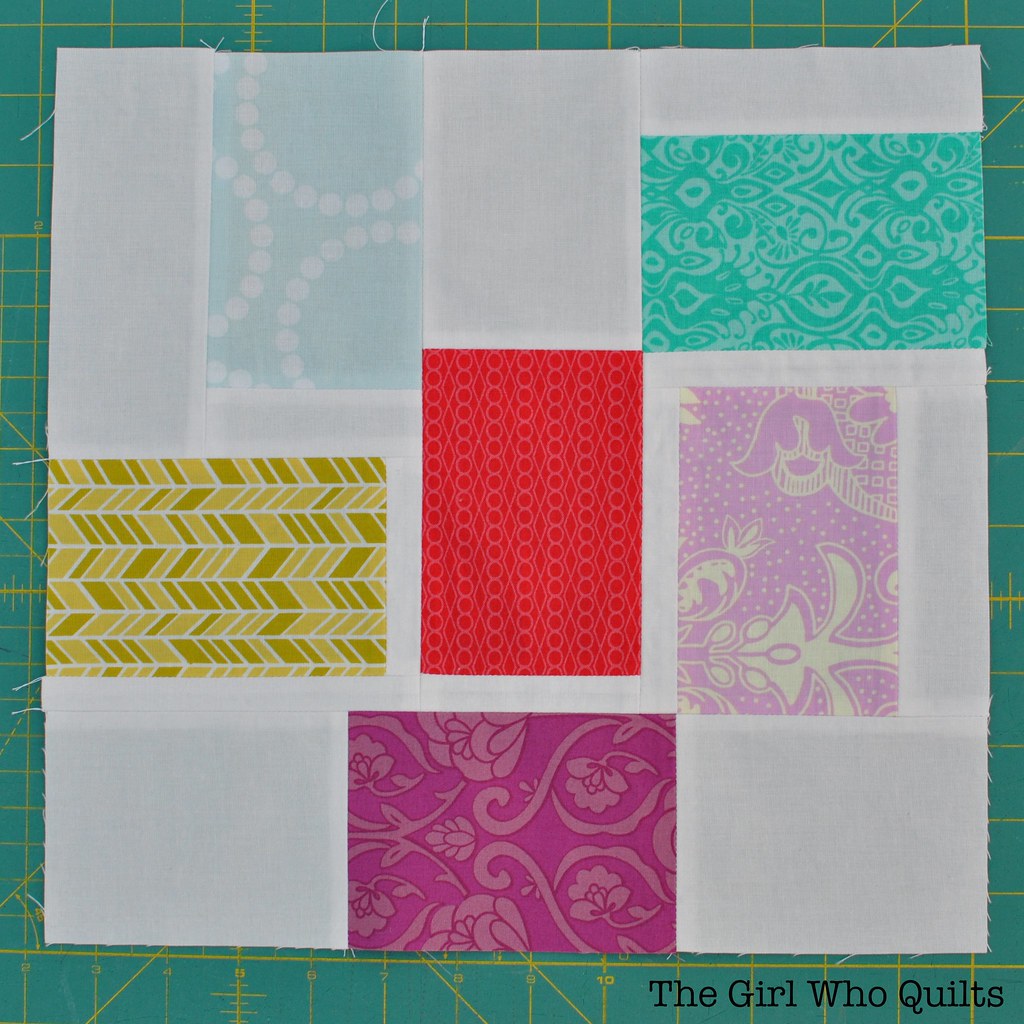
Now piece the color4+color 2+color 5 section to the right side of the color 1+color3 section.
Finally, piece the color 6 section to the bottom of the block!
Your block should now measure 12.5" long and 13" across.
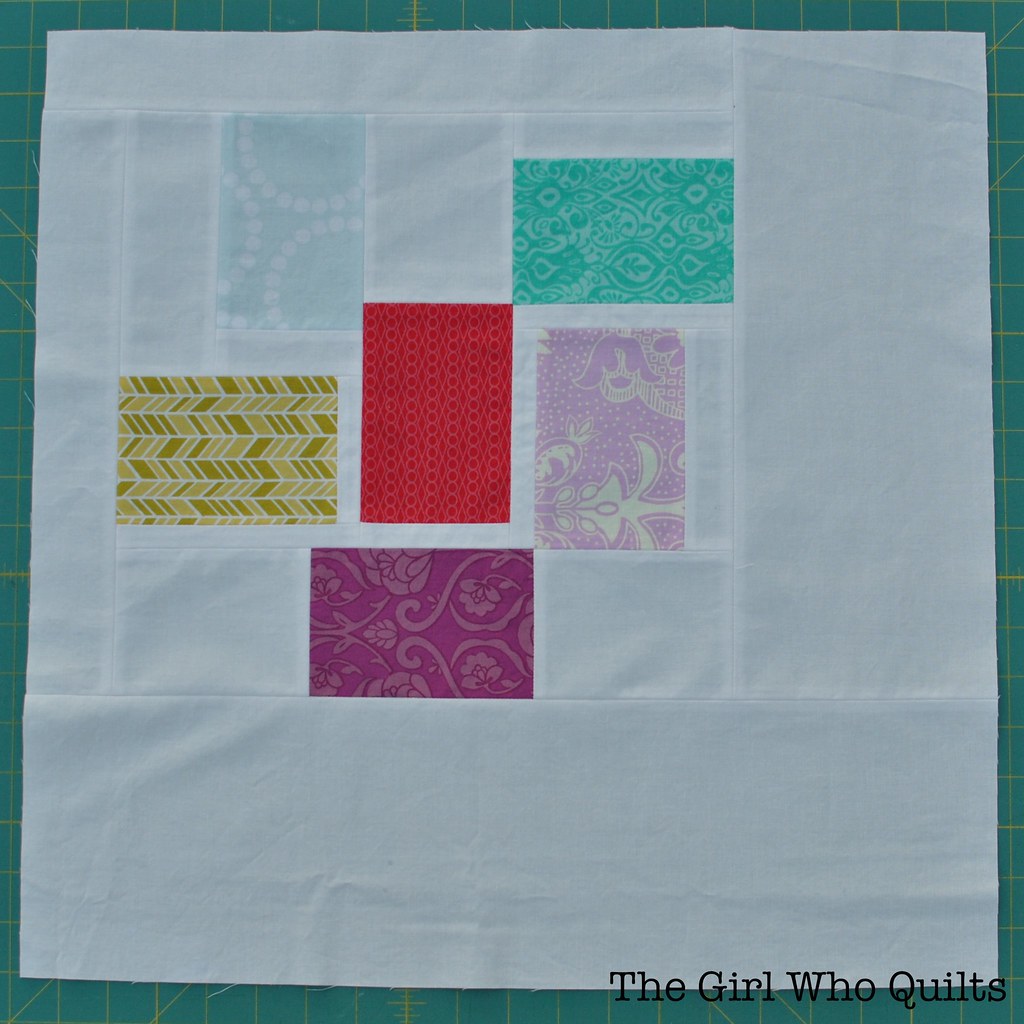
To create the 19.5" mini quilt, continue below.
If you'd rather square up the block for another use, simply sew a 1"x13" background strip to either the top or bottom edge of the block. This will give you a 13" square block which will finish as a 12.5" square block.
To create the mini quilt, do not add the 1" strip to square up the block.
Cut the following borders from your background fabric:
2" x 12.5"
2" x 14.5"
5.5" x 14"
6" x 19.5"
Sew the 2" x 12.5" strip to the left side of the block.
Sew the 2"x14.5" strip to the top of the block.
Sew the 5.5"x14" strip to the right side of the block.
Sew the 6" x 19.5" strip to the bottom of the block.
Baste, quilt and bind!
Thanks so much to Amanda for having me over for tutorial week! I would love to see any projects that you create from this tutorial. You can always contact me through my blog or post in my
Flickr Group!