


Supplies:
1/3 yard main outer fabric
1/3 yard bottom contrast outer
3/4 yard muslin or other light weight for the back of the quilting
3/4 yard bag lining
1/4 yard handles
quilt batting
911 feather weight interfacing (optional)
1/3 yard contrasting fabric for pocket (optional)
Instructions
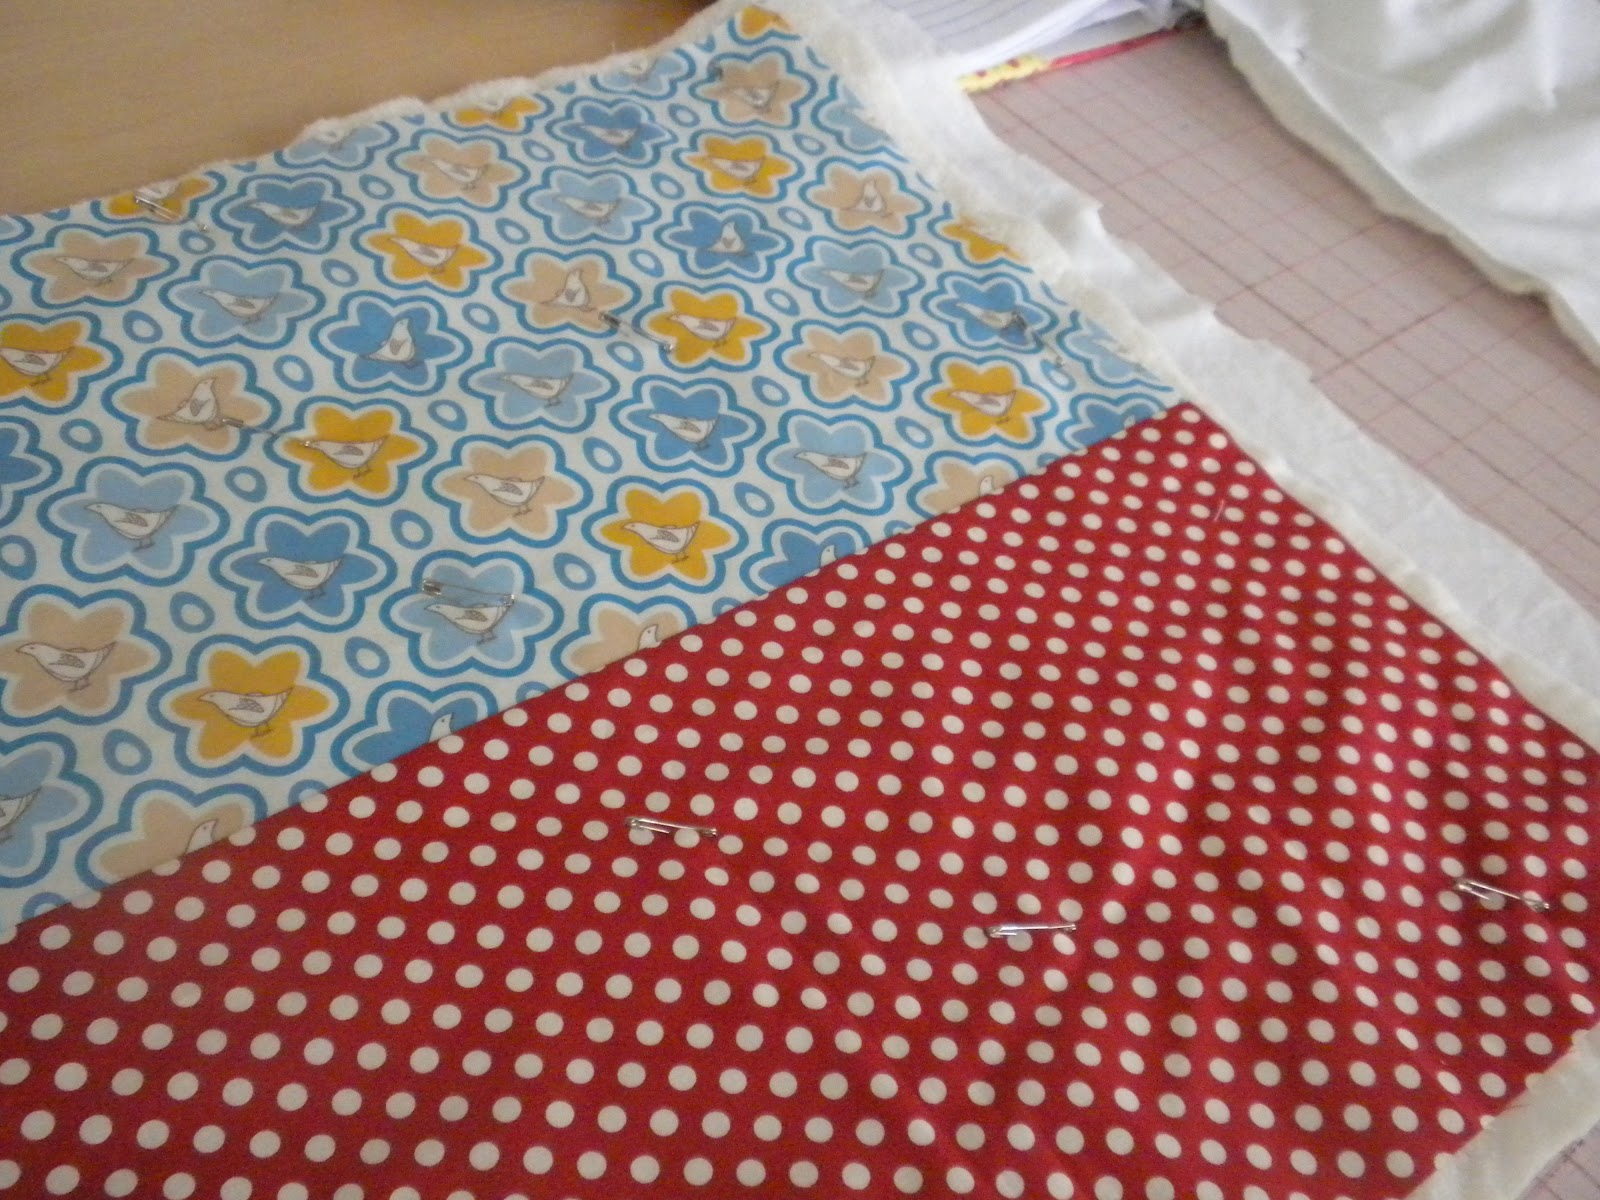
Cut your main outer fabric (top piece) 2 pieces 10.5" x 20"
Cut your bottom contrast fabric 2 pieces 9.5" x 20"
Sew these two pieces together and press.

I pin basted my two outer bag pieces and straight lined quilted every 1 inch. You can quilt how you want it. I actually used an old sheet for the back of this part - you will never see it - it just adds stability to the quilting.


Cut your lining (2 pieces) 19.5"x20". (I had to cut 1/4 inch off the 19.5" piece because the outer bag shrunk from the quilting. So mine measured 19.25" x 20") Iron the fuseable Pelon to the wrong side of your bag lining fabric - this is optional. Once I finished mine, I thought this step really wasn't necessary.

Next, prepare your pocket. Cut 2 strips 6.5" x 20". Sew the two pocket pieces right sides together.


Now sew along the sides and the bottom using a narrow 1/8 inch seam allowance. Then sew lines going down the pocket piece to form the pockets. I just eyeballed mine. Some are narrow for pencils, others are wider.

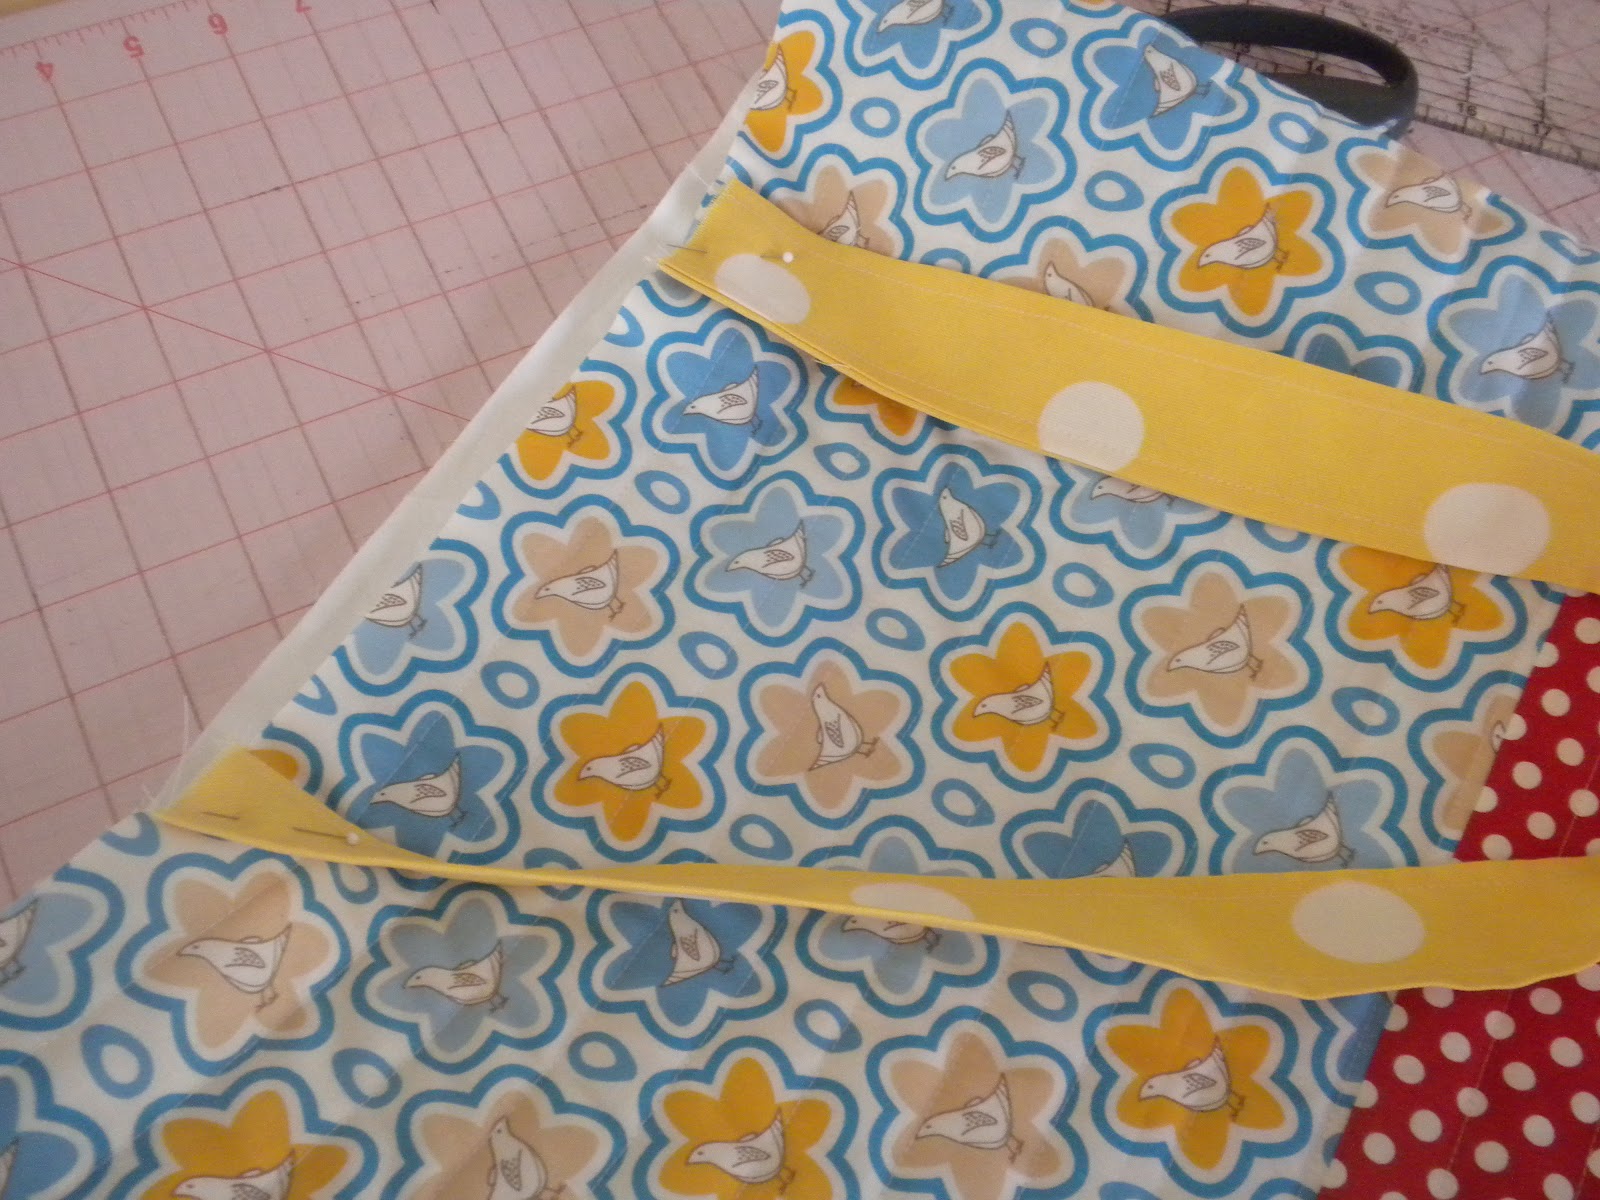
Prepare the handles. Cut 2 strips 28" x 4". If your fabric is thin, iron fusable interfacing to handle pieces before sewing. This fabric was kind of canvas-like. Fold longways and sew along the side leaving the ends open to turn.


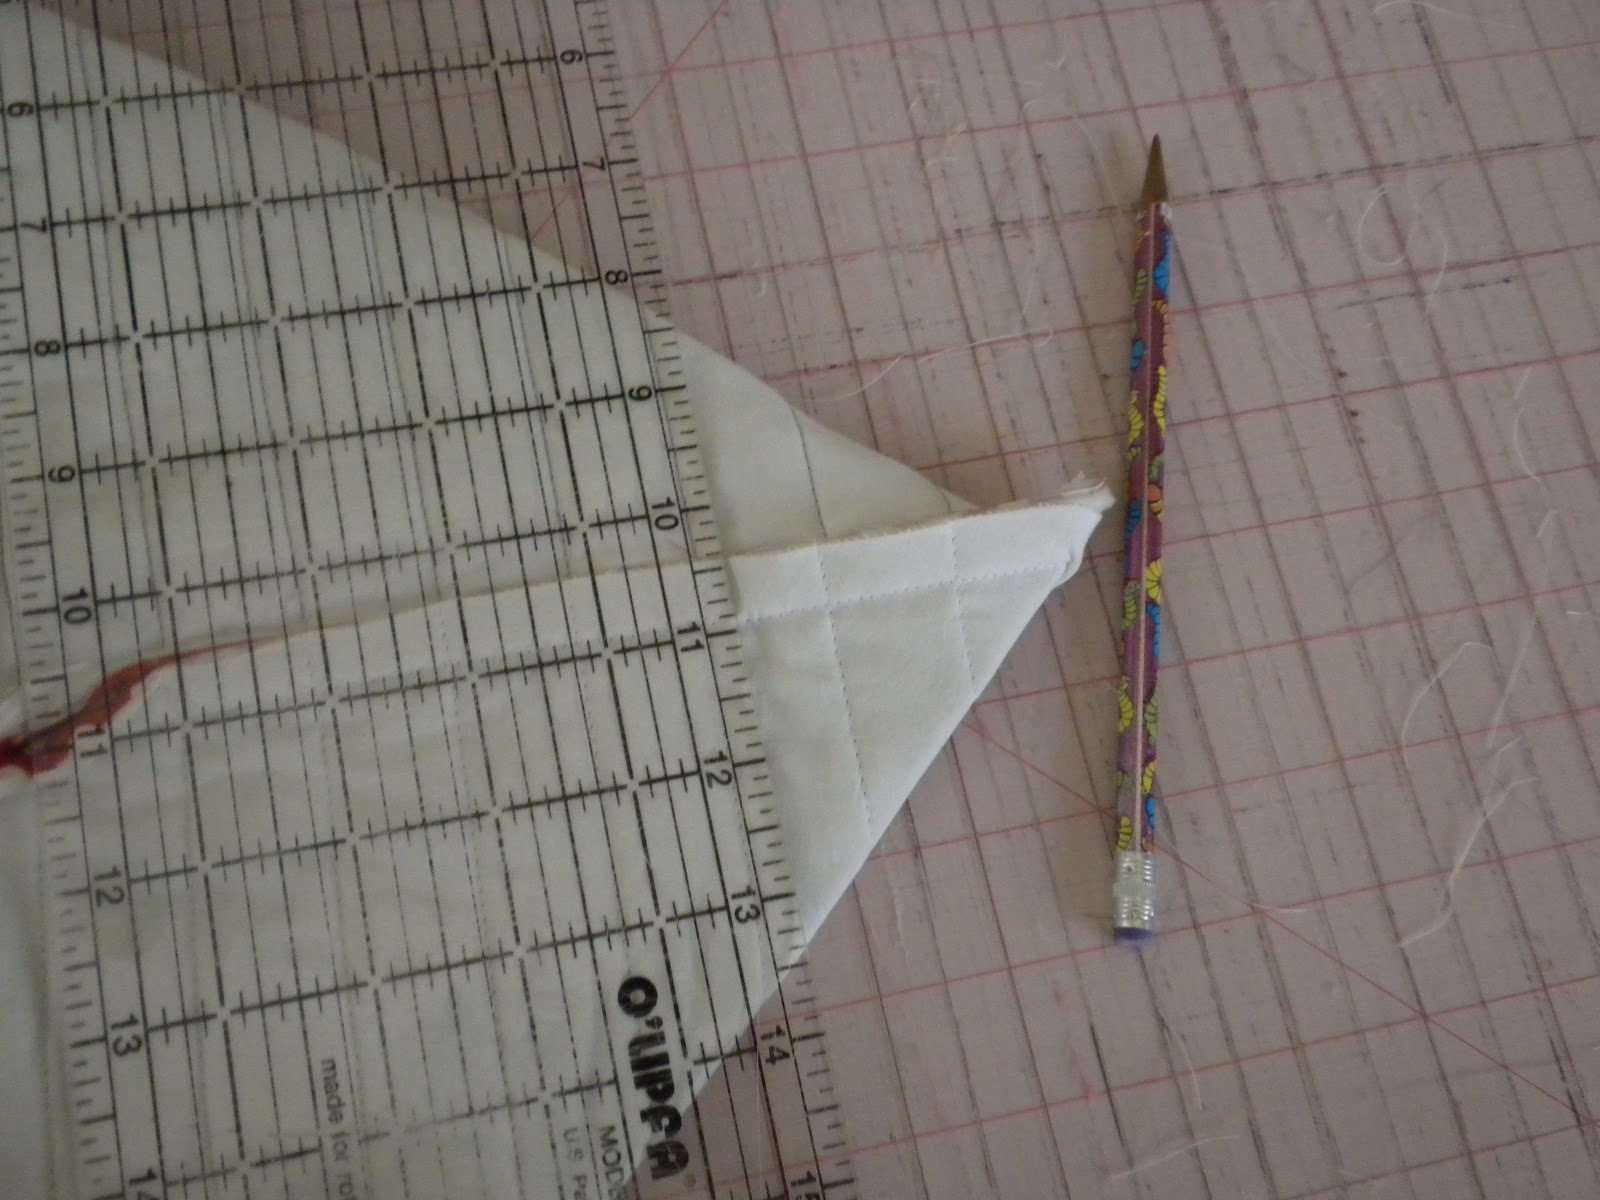
Now, pin your outer bag right sides together, matching the side seams. Also, pin your lining together right sides together. Sew around both pieces leaving the top open. I used about a 1/2 inch seam. Make sure your seam allowance is exactly the same for both bags or they won't match up!


You are almost done! Now the fun part! Leaving the outer bag wrong side out, put the lining (right side out) inside the quilted bag. Match the side seams and pin all the way around the bag. It should line up perfectly.


You are done!!!!


Nice bag & awesome tutorial! I'm your newest follower!
ReplyDeleteT'onna @ www.navywifeypeters.blogspot.com
This comment has been removed by the author.
ReplyDeleteSuch a cute tote! I love the polka dot handles. I'm glad you mentioned the "shrinkage" from quilting - I've not done any quilting before, so I wouldn't have even thought about it! :)
ReplyDelete(Note to me... read comment before you post it to make sure it makes sense! lol)
Just saw A Bright Corner's rendition of your cute tote. Thank you for sharing!
ReplyDeleteThank you so much for this tutorial - I just used it to make a Christmas present for my sister - I'm sure she will love it. I'm making one for myself in the new year! I blogged my bag at squeezequilts and will link back to you.thanks again!
ReplyDeleteDid 3 of these as end of the year teachers gifts. Was super easy to follow instructions. They were very well received and appreciated! Thanks a bunch!
ReplyDelete