Showing posts with label crafts. Show all posts

Tuesday, February 11, 2014

One Direction Valentines - Backstage Pass to my Heart

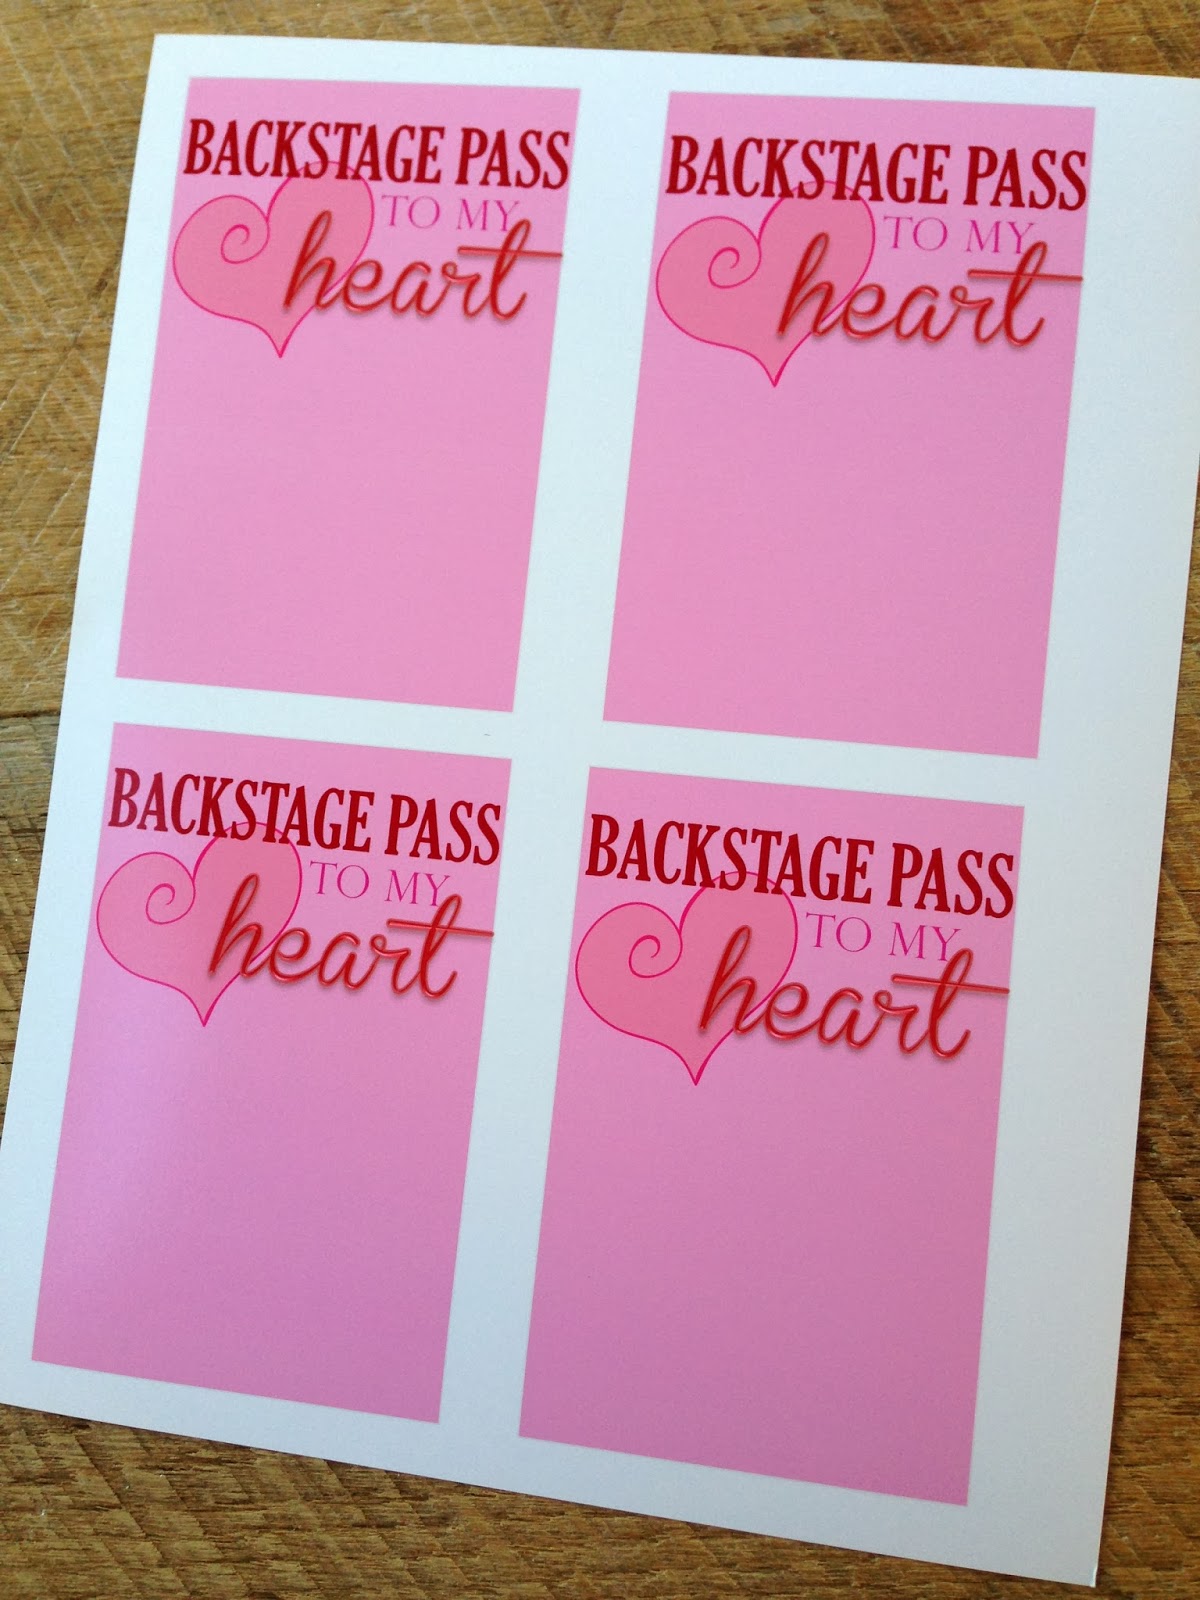
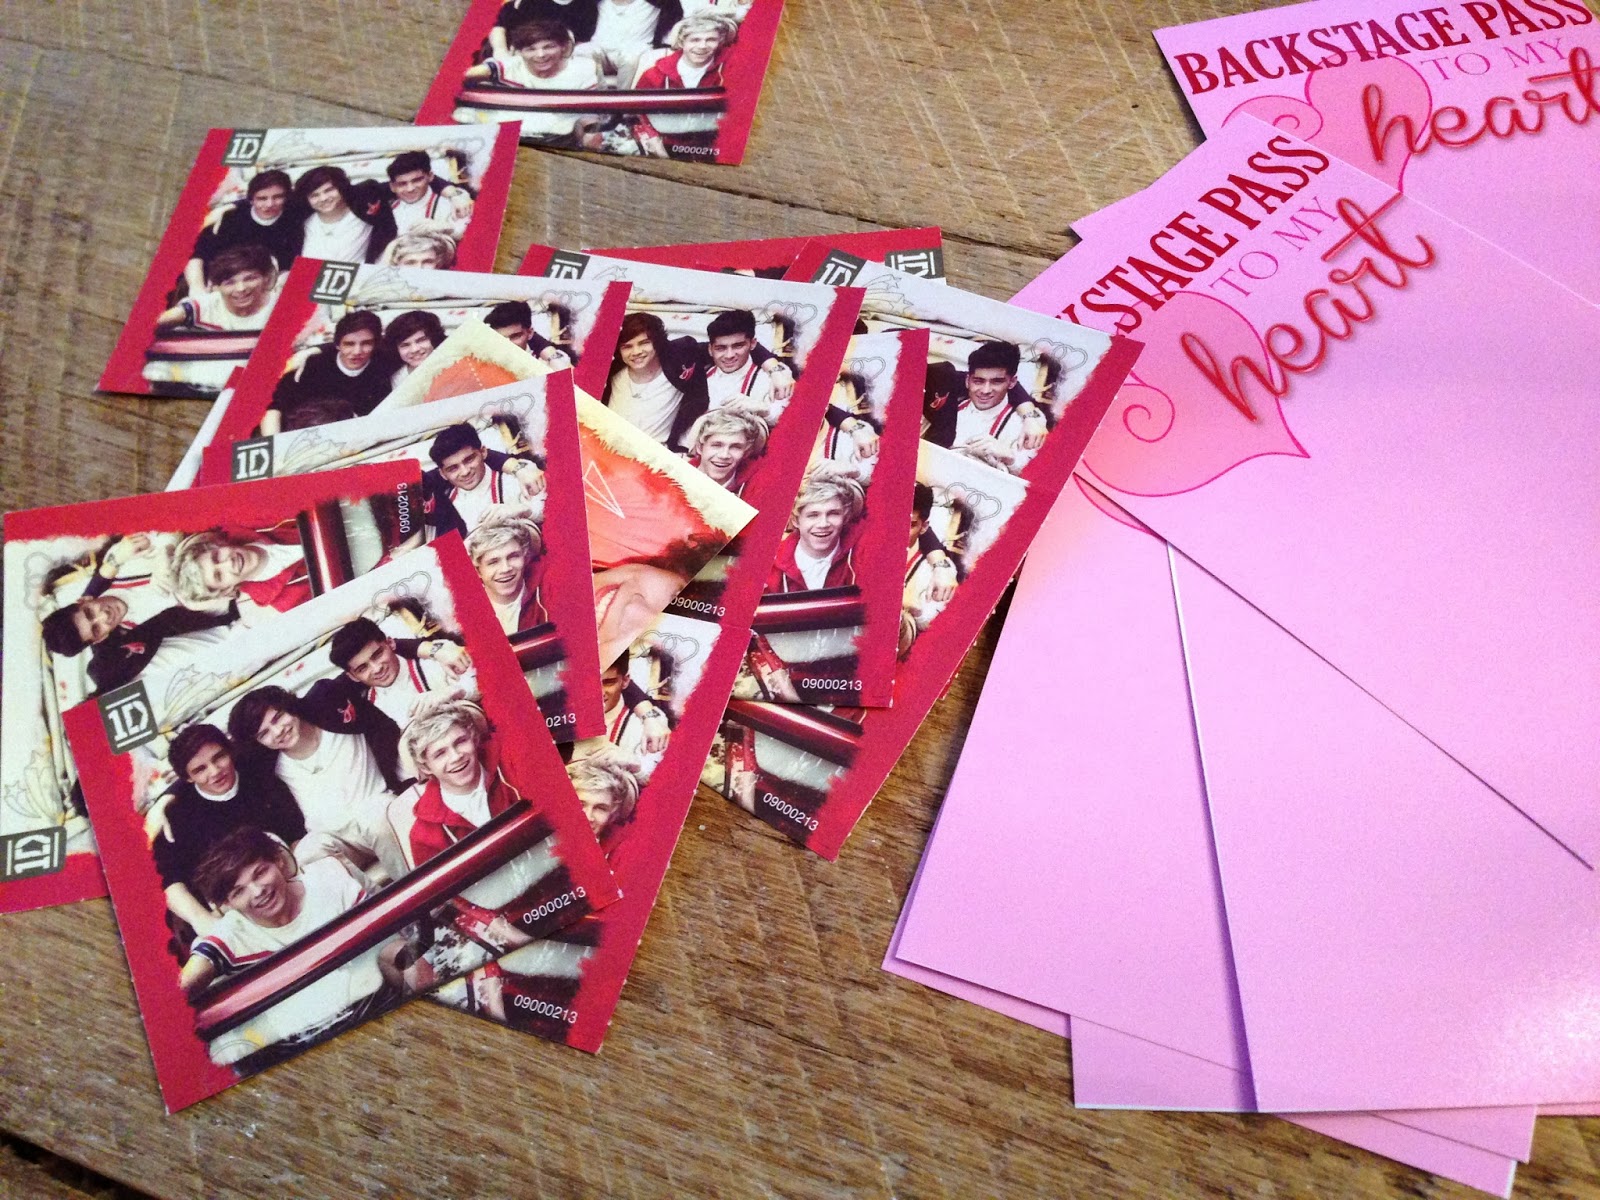
We love Valentine's Day and we love 1D at our house, at least my Kindergartner does (and mommy)!  We found these 1D valentines at the store and decided they needed something a little extra.  We turned them into pretend Backstage Passes!  Here's how you can make them:
Print the Backstage Pass on photo paper.  Click HERE to download.
 Cut them out.  Cut the 1D valentines to fit on the pass.  I choose to use the picture on the back of the valentine since it was of all 5 of the guys and it was a little smaller and fit perfectly in the space.  Glue the valentines to the passes.

Oh my, they are so cute…..I mean the Valentines are so cute :)
 Print the back of the pass on regular paper and cut on the faint gray line.
 The 1D valentines come with little stickers.  So we added a sticker to the back.  Sally then signed them all.  Glue the front and the back together.
 Insert into a laminating pouch and laminate.
Punch a hole in the top and add some twill tape or ribbon.  I bout this giant spool of neon pink twill tape in LA for about $5.  I didn't know what I would ever use it for!!!
 

 We are just a little bit excited to wear this!!  We are making one for everyone in the class - even the boys - oh well!  That's about 26 in all!  Better get cutting!


Amanda

Monday, January 20, 2014

Vintage Paper Hearts

 I got together with my friend for a little paper crafting!  She has super amazing taste and ideas!!  She came up with this fun project.  I love that the hearts are soft colors and not super bright red and white - definitely a vintage feel.  Here's how you can make them:

First cut out "nesting" hearts on the Silhouette.  We cut about 12 different papers so we could mix and match.


Use "Distressing Ink" to age the egdges.


Next, paint white glue on the edges and dip them in "Vintage Sparkle" glitter - its the best color of glitter ever!!

Once they were dry, layer them and sew the center on the machine (of course I had to get some sewing in the project!!)


Aren't they looking cute?

Gather peach, cream, and pink crepe paper on the sewing machine until you have a pile.

Hot glue the gathered crepe paper around the back like this:

When they are finished, I sprayed them with Glitter Dust - it's magic in a can!  It gives them a soft dusting of glitter - just like the name says!  And the glitter doesn't flake off!


I just can't get enough of them!  They are all over my house!

I wanted to make a garland with some of them, so I glued three to a piece of lace.  I added additional ruffled crepe paper.


I love how my tea cabinet looks!  I love this picture from the Graphics Fairy.  I printed it out in an 8x10 and framed it.

I also made a paper rosette and glued a heart in the center - I hung it in the guest bathroom.
I'm ready for Valentine's Day now!!!

Amanda

Tuesday, November 19, 2013

Blue Jars, Bottle Brush Trees & Old Cars

These cute bottle brush trees in mason jars are everywhere in blog land!  I had to jump in and assemble a few for myself!  

My trees started out too green.  I sprayed a little Heirloom White spray paint on them and now they look like they've been lightly dusted with snow.


You can use fake snow for the snow, I used sugar.  Then place your little trees inside the jars.

I love vintage cars.  I didn't want to spend $$$ on a replica car.  I was thrilled when I found this one in the ornament section of Target for only $3!

I bought these smaller trees at Michael's in a package for about $1.  Use wire cutters to snip off the base.  Then place in your truck!

 I love it!!!  Makes me feel happy inside when I look at this nostalgic scene!


Amanda

Friday, August 2, 2013

Ruby Slipper Handouts


I found these clear plastic "slippers" in the wedding section at JoAnn Fabrics.  They come 24 in a box for about $12.  I used my 50% off coupon so they were even cheaper!
 They measure 3.5 inches.

 I used Rust-Oleum Gloss Apple Red spray paint to turn them all red.
Mix red glitter into white glue.  Paint it on the slipper and then sprinkle more glitter on the glue.

Once they dried, I gave them a coat of gloss Mod Podge to seal the glitter.  


They look just like real Ruby Slippers!!

I wrapped them in cellophane bags and tied this quote from Glinda the good witch:

Amanda

Wednesday, July 31, 2013

Ruby Slippers Beaded Key Chains


 Today's Girl's Camp Handout are these cute beaded "Ruby Slippers" inspired keychains.  I bought these red sequins ball beads in the fabric district in LA.  I wasn't sure what to do with them.  So, I got out all my beads and we made these!
 The charm on the bottoms says "Follow Your Heart" which is exactly what Dorothy did as she followed the Yellow Brick Road!  (I found the charms at JoAnns Fabrics)
I had some little helpers too! 

 We made 15 of these - each one is different!


Amanda